Drawing a margarita glass is not only a creative endeavor but also a delightful one. Whether you’re a budding artist or just looking to express your artistic side, learning how to draw a margarita glass can be a rewarding experience. In this comprehensive guide, we will take you through the process of drawing a margarita glass, step by step.
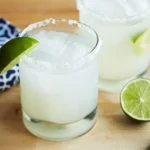
The margarita glass is the quintessential vessel for serving the beloved margarita cocktail. Its double bowl design, a hallmark of fun and distinction, perfectly complements the frozen margarita, while the wide rim adds practicality, allowing for easy customization with salt or sugar, enhancing the overall margarita experience.
Materials You’ll Need
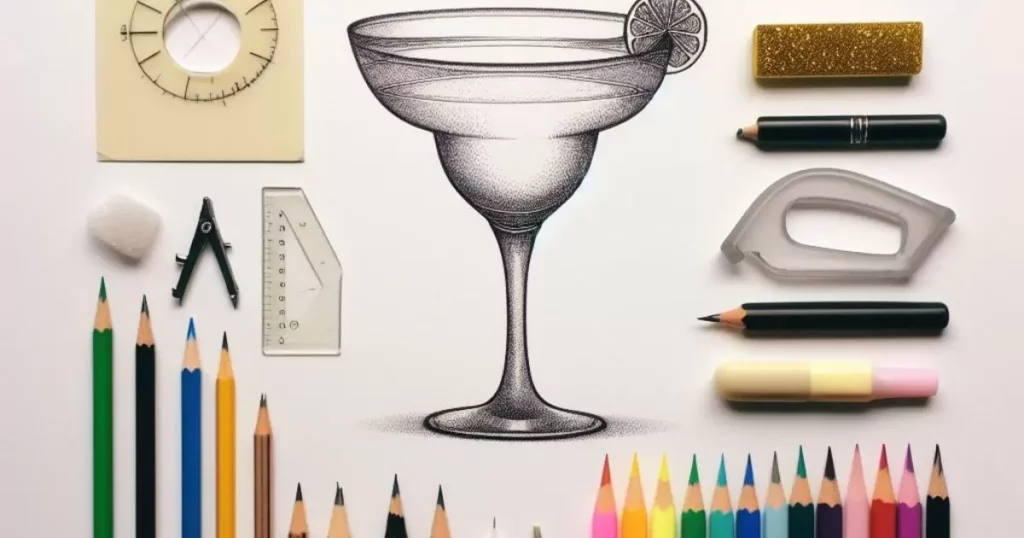
Before diving into the art of drawing a margarita glass, it’s essential to gather the right materials. Here’s what you’ll need:
Paper
The foundation of your artwork, you can use any type of paper you prefer, but a plain sheet of white paper is recommended for beginners.
Pencils
To add depth and shading to your drawing, you’ll need pencils of varying hardness, such as HB, 2B, and 4B.
Eraser
A high quality eraser will help you correct any mistakes or remove unwanted lines with precision.
Ruler
A ruler is a handy tool for drawing straight lines and ensuring that you maintain proper proportions.
Compass (optional)
If you want to create perfect circles for the glass and its contents, a compass can be useful.
Coloring Materials (optional)
For those who want to add color to their drawings, have colored pencils or markers ready. Now that you have your materials ready, let’s begin with the step-by-step process of drawing a margarita glass.
Steps of draw margarita glass
Step 1
Drawing the Glass
Drawing the margarita glass is the foundational step in this artistic journey. Follow these steps.
Draw the Base
Start by creating the base of the margarita glass. Use your ruler to draw a straight horizontal line near the bottom of the paper. This line will serve as the base of the glass.
Add the Stem
At the center of the base line, create a small vertical line to indicate the stem of the glass. The stem should be relatively thin and taller than the base. You can adjust the height according to your preference.
Outline the Bowl
Draw a curved line connecting the top of the stem to the base line. This line represents the outline of the bowl of the margarita glass. Ensure that it’s symmetrical and smooth.
Create the Rim
Now, create another curved line starting just above the first one and connecting back to the base line. This forms the upper rim of the margarita glass. Keep the curves symmetrical for a realistic look.
Adding Details
To make your margarita glass drawing more appealing, you’ll want to add some essential details.
Shading for Realism
To give the glass a three-dimensional appearance, add shading. Use your darker pencils (e.g., 2B or 4B) to shade the areas where the glass would cast a shadow, such as the stem and the area under the upper rim. Leave the highlighted areas white or lightly shaded to create contrast.
Highlight with an Eraser
Use your eraser to lighten some of the shading and create highlights. This will make the glass look more reflective and glass-like.
Liquid Level (Optional)
If you’d like to add a liquid to the glass, draw a wavy line at the top of the glass, indicating the level of the margarita. This adds a realistic touch to your drawing.
Decorative Elements
If you want to add some additional decorative elements to your margarita glass, such as salt on the rim or a slice of lime, you can do so now.
| Element | Suggested Colors |
| Margarita Liquid | Pale green or yellow |
| Glass Rim | Light gray or white |
| Lime Slice | Green |
| Lime Slice Details | Green and white |
| Salt on the Rim | White or light gray |
| Background (Optional) | Light blue or turquoise |
Coloring (Optional)
Adding color to your drawing can take it to the next level. Here’s how to incorporate color:
Color the Margarita Liquid
Begin by coloring the margarita liquid with a pale green or yellow shade. Leave a small white highlight on the liquid to make it look translucent.
Rim of the Glass
Color the rim of the glass with a light gray or white to represent the salt. Add a few small dots or dashes for texture.
Lime Slice
If you’ve added a slice of lime, color it green and draw a few details, such as the pulp and a curved line to represent the rind.
Background
You can also add a background to your drawing. A light blue or turquoise background can create a beach or summer vibe that complements the margarita theme.
Final Touches
As you approach the final stages of your drawing, here are a few things to consider:
Review Your Drawing
Take a moment to review your drawing and make any necessary adjustments or refinements. Pay attention to the overall symmetry and proportions of the glass.
Sign Your Artwork
If you wish, sign your artwork as a mark of your creative accomplishment. With these final touches, you’ve successfully completed your margarita glass drawing. Cheers to your artistic success.
Tips and Tricks
Drawing a margarita glass can be a delightful experience, but it’s important to keep a few tips in mind to help you achieve the best results.
Practice Proportions
One of the key elements in drawing a margarita glass is getting the proportions right. Pay close attention to the height and width of the glass, the stem, and the rim. A margarita glass typically has a tall, slender stem and a wide, shallow bowl.
Use Guidelines
If you’re struggling with symmetry and maintaining the right proportions, lightly draw guidelines to help you stay on track. These guidelines will ensure your glass remains well-balanced and realistic.
Experiment with Shading
Shading plays a significant role in creating a realistic look. Don’t hesitate to experiment with different shading techniques to achieve the desired level of transparency and reflection for the glass. The right shading can make your drawing truly come to life.
Be Patient
Artistic endeavors require patience and attention to detail. Take your time with each step of the drawing process, from sketching the initial lines to adding shading and color. The extra effort you put into your drawing will result in a more polished and realistic margarita glass.
Observe Real Glasses
For inspiration, consider looking at actual margarita glasses or reference images online. Studying real glasses will help you understand the details and subtleties that make a margarita glass unique. It’s an excellent way to refine your drawing and make it more authentic.
FAQs
Can I use any type of paper for this drawing?
Yes, you can use any type of paper for your margarita glass drawing, but plain white paper is recommended for beginners.
Do I need to use colored pencils or markers to add color?
Adding color is optional. You can choose to use colored pencils or markers if you want to add a vibrant touch to your drawing.
How can I make the glass look more three-dimensional?
To create a three-dimensional effect, use shading. Darker pencils can be used to add shading to areas where the glass casts a shadow.
Is it necessary to draw a slice of lime or salt on the rim?
Adding a slice of lime or salt is optional and depends on your artistic preference. You can choose to include these details for extra realism or keep the drawing simple without them.
Conclusion
Drawing a margarita glass is a creative journey that can be enjoyed by artists of all skill levels. By following the steps outlined in this guide and incorporating your unique style, you can create a beautiful margarita glass drawing. Whether you choose to add color or leave it in pencil, your margarita glass drawing is a work of art that reflects your creative expression. So, grab your pencils, paper, and let your imagination flow as you embark on this artistic adventure. Cheers to your artistic success.